

Content generation failed due to API limits. Please try again later. Original prompt:
IMPORTANT: Write the entire article in English.
You are tasked with writi…
Perfecting the Cooking Process
To nail this Homemade Plum Jelly, start by thoroughly washing and prepping your plums. Cook them down first to soften, then strain the mixture for a clear juice before adding your sweetener and pectin. This sequence ensures the best flavor and texture.
Add Your Touch
Feel free to get creative with your spices! A pinch of cinnamon or a splash of lemon juice can brighten the Homemade Plum Jelly. For a chunkier spread, leave some plum pieces in after cooking. Experiment and find your perfect blend!
Storing & Reheating
Store your cooled Homemade Plum Jelly in airtight jars in the refrigerator. It should last for several weeks. No reheating is needed – just grab a spoon and enjoy straight from the fridge on toast, scones, or even with a cheese platter.
Here are some insider tips to ensure your Homemade Plum Jelly turns out perfectly:
- Make sure your plums are ripe but not overly soft, as this will affect the jelly’s set. Under-ripe plums can lead to a bitter taste.
- Don’t overcook the jelly after adding pectin; it can become rubbery. Watch for the setting point by using the cold plate test.
- Use a jelly bag or several layers of cheesecloth to strain the plum pulp effectively and achieve a crystal-clear jelly.
(Personal anecdote formated as paragraph subheading (very important! don’t write any title for this paragraph))
I remember once, I brought a jar of my plum jelly to a picnic, and it was gone in minutes! Everyone raved about the sweet and tangy flavor; it was such a gratifying moment.
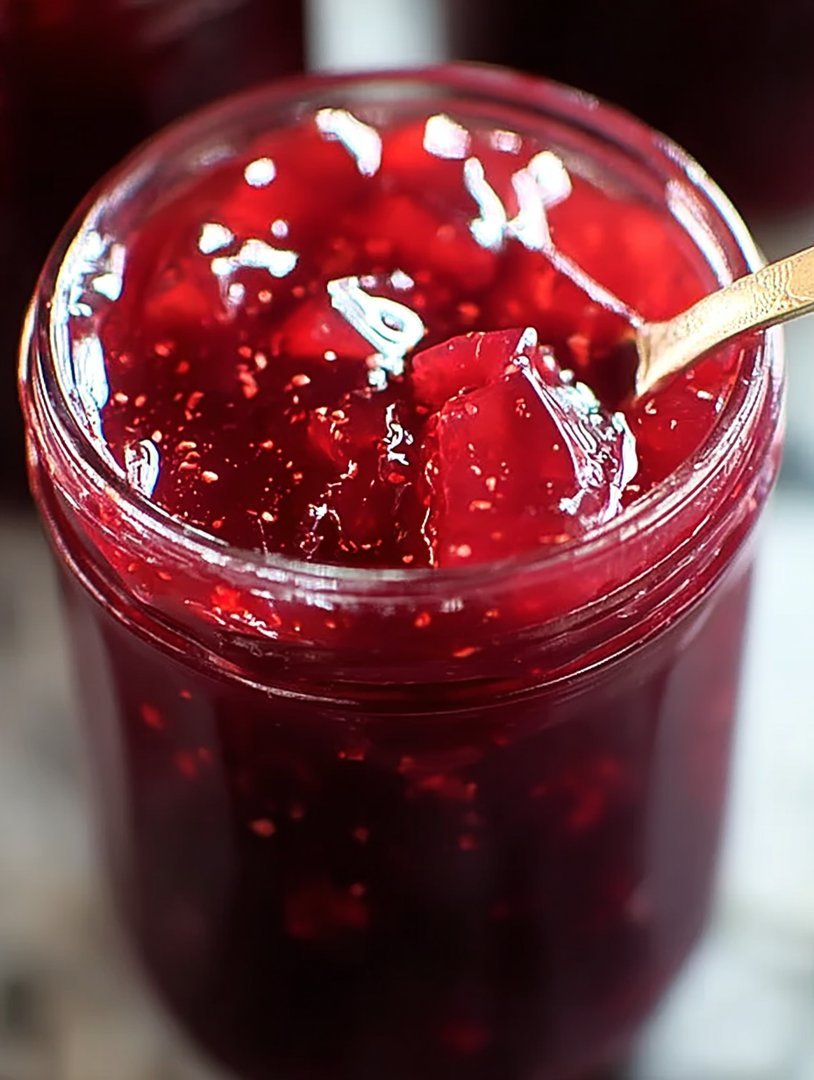
Let’s dive into the juicy world of Homemade Plum Jelly! Forget the store-bought stuff loaded with who-knows-what. We’re talking about vibrant, intensely flavored jelly crafted right in your own kitchen. Sounds intimidating? Trust me, it’s easier than parallel parking a monster truck. And way more rewarding.
Why Homemade Plum Jelly Rocks
First off, you control everything. No sneaky preservatives or artificial colors here. Just pure plum goodness, some sugar, and a little bit of pectin to work its magic. Plus, the satisfaction of spreading your own creation on a warm piece of toast? Unbeatable. And let’s be honest, bragging rights are a delicious side dish.
The aroma that fills your kitchen as the plums simmer is simply divine. It’s like a fragrant hug from summer itself, a reminder of sunny days and juicy fruits. And the vibrant color of the finished jelly? It’s basically edible sunshine in a jar. Seriously, who needs therapy when you have homemade plum jelly?
Gathering Your Plum Posse
The star of our show is, of course, plums! Look for ripe, plump plums with a deep, rich color. Different varieties will yield slightly different flavors, so don’t be afraid to experiment. I personally love using a mix of Santa Rosa and Black plums for a complex, sweet-tart profile.
Beyond the plums, you’ll need sugar. Plain old granulated sugar works just fine. Some people like to use honey or maple syrup for a more natural sweetness, but keep in mind this will alter the flavor and potentially the setting of the jelly. Pectin is our gelling agent, helping the jelly achieve that perfect wobble. You can find it in powder or liquid form at most grocery stores.
And finally, a little lemon juice. This not only brightens the flavor but also helps the pectin do its thing. Think of it as the pectin’s sidekick, a crucial partner in the quest for perfect jelly.
The Jelly-Making Journey: A Step-by-Step Guide
Alright, let’s get down to business. Here’s a foolproof guide to making amazing Homemade Plum Jelly.
Step 1: Plum Prep Party
Wash your plums thoroughly and remove the stems. You don’t need to peel them, as the skins will add color and flavor. Roughly chop the plums and toss them into a large pot.
Step 2: Simmering Sensations
Add about a cup of water to the pot. This will help the plums release their juices and prevent them from scorching. Bring the mixture to a boil over medium heat, then reduce the heat and simmer for about 20-25 minutes, or until the plums are soft and mushy. Stir occasionally to prevent sticking.
Step 3: Juice Extraction Extravaganza
This is where the magic happens! Place a jelly bag or several layers of cheesecloth over a large bowl. Carefully pour the cooked plum mixture into the bag and let it drip. Don’t squeeze the bag, as this will result in cloudy jelly. Let the juice drip for at least 2-3 hours, or even overnight. Patience is key!
Step 4: Sweetening the Deal
Measure the plum juice. For every 4 cups of juice, you’ll need about 3 cups of sugar. Pour the juice into a clean pot, add the sugar, and stir well to dissolve.
Step 5: Pectin Power-Up
Add the lemon juice to the pot. Bring the mixture to a rolling boil over high heat, stirring constantly. Once boiling, add the pectin according to the package directions. Boil hard for 1 minute, stirring constantly.
Step 6: The Cold Plate Test
To check if the jelly is ready, drop a small spoonful onto a cold plate. If it sets up quickly and forms a skin, it’s done! If not, continue to boil for a few more minutes and test again.
Step 7: Jarring Jamboree
Carefully pour the hot jelly into sterilized jars, leaving about 1/4 inch of headspace. Wipe the rims of the jars clean and seal with sterilized lids and rings.
Step 8: Water Bath Processing (Optional but Recommended)
For long-term storage, process the jars in a boiling water bath for 10 minutes. This ensures a proper seal and prevents spoilage.
Troubleshooting Your Jelly Journey
Even the best cooks encounter hiccups. Here are some common jelly-making problems and how to solve them:
- **Jelly won’t set:** This could be due to not enough pectin, not enough acid, or not boiling the mixture long enough. Try adding more lemon juice or pectin and reboiling.
- **Cloudy jelly:** This is usually caused by squeezing the jelly bag. Let the juice drip naturally next time.
- **Jelly is too thick:** You may have overcooked it. Next time, be more careful with the cold plate test.
Beyond Toast: Creative Ways to Use Your Homemade Plum Jelly
Homemade Plum Jelly is amazing on toast, but its versatility goes way beyond breakfast.
- **Glaze for meats:** Brush it on roasted chicken, turkey, or lamb during the last few minutes of cooking for a beautiful, flavorful glaze.
- **Cheese platter accompaniment:** Pair it with sharp cheddar, creamy brie, or tangy goat cheese for a sophisticated appetizer.
- **Thumbprint cookies:** Use it as a filling for classic thumbprint cookies.
- **Salad dressing:** Whisk it into a vinaigrette for a sweet and tangy salad dressing.
- **Cocktail ingredient:** Add a spoonful to your favorite cocktail for a fruity twist.
The Sweet Conclusion
Making Homemade Plum Jelly is a labor of love, but the rewards are oh-so-sweet. With a little patience and these simple steps, you’ll be whipping up batches of this delicious jelly in no time. So go ahead, embrace the plum-tastic adventure and create something truly special! You might even impress your friends and family, and that’s always a good thing. Now go forth and jelly!
Content generation failed due to API limits. Please try again later. Original prompt:
IMPORTANT: Write the entire article in English.
You are tasked with writing a fu…
Print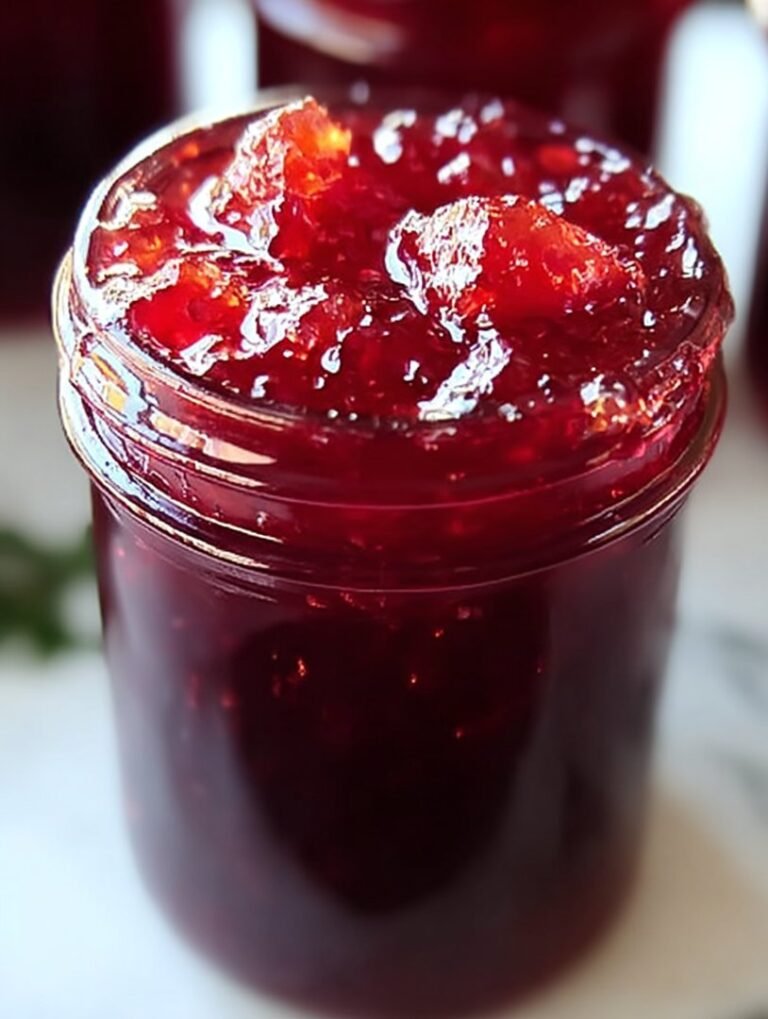
Homemade Plum Jelly
Delicious homemade plum jelly recipe with detailed instructions and nutritional information.
- Total Time: 35 minutes
- Yield: 4 servings 1x
Ingredients
- 4 pounds ripe plums, washed and pitted
- 1 cup water
- 6 cups granulated sugar
- 1/4 cup lemon juice
- 1 package (1.75 ounces) powdered fruit pectin
- 1/2 teaspoon butter (to reduce foaming)
Instructions
- Step 1: Combine the plums and water in a large pot. Bring to a boil over medium-high heat, then reduce heat and simmer for 15-20 minutes, or until the plums are soft.
- Step 2: Strain the cooked plum mixture through a jelly bag or cheesecloth-lined colander into a clean bowl. Let the juice drip undisturbed for several hours or overnight to get clear juice. Discard the pulp.
- Step 3: Measure out 4 cups of plum juice into a large, heavy-bottomed pot. Add the lemon juice and butter.
- Step 4: Stir in the powdered pectin into the plum juice. Bring to a full rolling boil over high heat, stirring constantly.
- Step 5: Quickly add the sugar all at once and stir continuously to dissolve. Continue stirring constantly, and bring the mixture back to a full rolling boil that cannot be stirred down. Boil hard for exactly 1 minute, stirring constantly.
- Step 6: Remove from heat and skim off any foam. Immediately pour the hot jelly into sterilized jars, leaving 1/4 inch headspace. Wipe jar rims clean, place lids and rings on the jars, and process in a boiling water bath for 10 minutes.
Notes
- Store your sealed plum jelly jars in a cool, dark place for up to a year – the pantry is perfect!
- If your plum jelly has set a little too firmly, a quick microwave on low in 15-second intervals will restore its spreadable glory.
- Try serving your vibrant homemade plum jelly with scones and clotted cream for a delightful afternoon tea treat.
- For the clearest jelly, avoid squeezing the jelly bag while straining – patience yields the prettiest results!
- Prep Time: 15 minutes
- Cook Time: 20 minutes
- Method: Stovetop
- Cuisine: American


Leave a Comment